How I Built My Blog
I recently launched this website and blog and I want to share some details on how I built it and the considerations that preceded it.
Before I started working on it I kept 3 things in mind:
- I want to be up-and-running as soon as possible so I can focus on the actual goal, making content and building my personal brand.
- I want to keep the cost of maintaining this blog to a minimum, leveraging the advantage I have as a developer.
- I want this blog to showcase my technical proficiency and knowledge so it has to be as performant as possible.
With these 3 points in mind, I first started looking at my options.
I have experience with Static Site Generators (like Gatsby and Next) and hosting those on AWS. I also have made multiple WordPress websites before and I always keep my mind open to new possibilities.
WordPress is a solid platform and the go-to option for blogs. It's incredibly easy and fast to set up, satisfying my first condition. However, I often find it bloated. It doesn't feel particularly modern or state-of-the-art to me - a subjective view, perhaps. Additionally, optimising WordPress for performance can be a tedious task. And while it can be set up quite affordably, it cannot match the cost-efficiency of static sites.
For reasons of performance, extensibility, scalability, modernity and cost-efficiency, I ultimately chose the route of using a Static Site Generator. However, I was still mindful of my first condition. I needed a way to get up-and-running as fast as possible, giving myself a week to launch the website. So I needed to think about the tech stack that would deliver quick, effective results, allowing me to focus on content creation rather than on coding.
By leveraging the Next.js Blog Starter template, Decap CMS, and Netlify, I was able to get my website online in less than a week with virtually zero ongoing costs.
Let's start building
Setting up the project
Let's start by creating the project locally using the Next.js Blog Starter template.
yarn create next-app --example blog-starter my-awesome-blog
cd my-awesome-blog
yarn dev
You can now go to localhost:3000 in your browser to see the Blog Starter template in action.
Installing Decap CMS
I chose for Decap CMS as a CMS for a couple of reasons.
- Decap CMS was formerly known as Netlify CMS and since I chose for Netlify it seemed like the obvious choice.
- It's free!
- It's easy to integrate.
Let's start configuring Decap CMS in our project. For this section you can follow along with the Decap CMS documentation.
Decap CMS is a SPA (Single Page Application) that lives in the /admin folder of your website. So let's create this folder. It's important to create this folder in the published root of your site! In the case of Next.js that is the /public folder.
Next, create 2 files within this folder: index.html and config.yml. The index.html file will serve as the entry point for your Decap CMS interface. The config.yml file is the heart of your Decap CMS installation. More on that later. Let's copy the boilerplate code for the index.html file from the Decap CMS documentation and copy it to our own index.html file.
Configuring Netlify & Netlify Identity
We will use Netlify to host our website. Netlify also offers us a handy tool called Netlify Identity that we will leverage for authenticating to our Decap CMS admin interface.
To set up Netlify for deploying your website we are following along with the official Netlify documentation.
1. Setting up a GitHub repo
We are going to leverage the integration between Netlify and GitHub to build our website. So first, we need to create a GitHub repository in which we will store our website's code. Once you're done with that GitHub will provide you with the instructions on how to connect your local codebase to the repository you just created. Something along these lines:
git remote add origin git@github.com:MBraspenning/next-decap-blog.git
git branch -M main
git push -u origin main
2. Setting up Netlify
Go to app.netlify.com and set up an account if you don't already have one. Once you're on the dashboard you will see the option to create a new site.

Click the Add new site button and select Import an existing project.
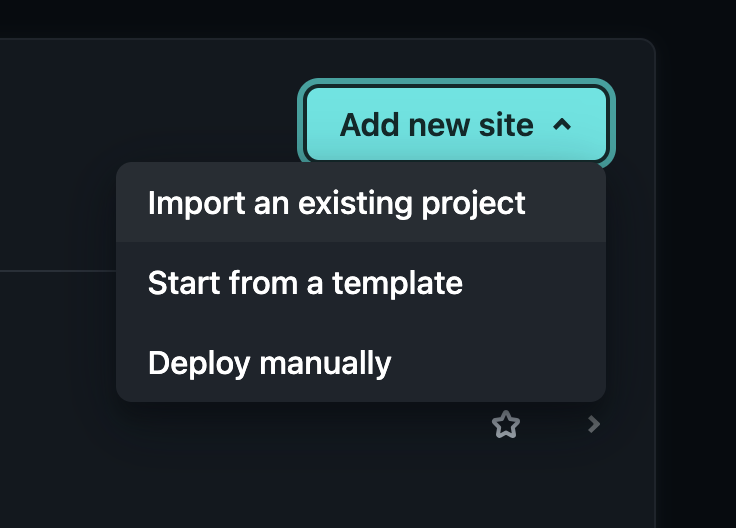
Next, select the GitHub option (as you can see, Netlify integrates with multiple platforms). Authorize Netlify to access your GitHub information and select the repository / repositories you want Netlify to access. We'll pick the one you created earlier. Go through the settings and finish by clicking the deploy button.
Congratulations, you're done with setting up Netlify and your website is now live! 🚀 You can visit your website at the url generated by Netlify. I called mine next-decap-blog so my url looks like this: https://next-decap-blog.netlify.app/.
3. Setting up Netlify Identity
Since Netlify provided us a with a convenient tool for authentication and Netlify integrates well with Decap CMS, we're going to use this as a login for our Decap CMS admin section.
We'll start by going to the Netlify dashboard. Go to your Site > Site configuration > Identity.
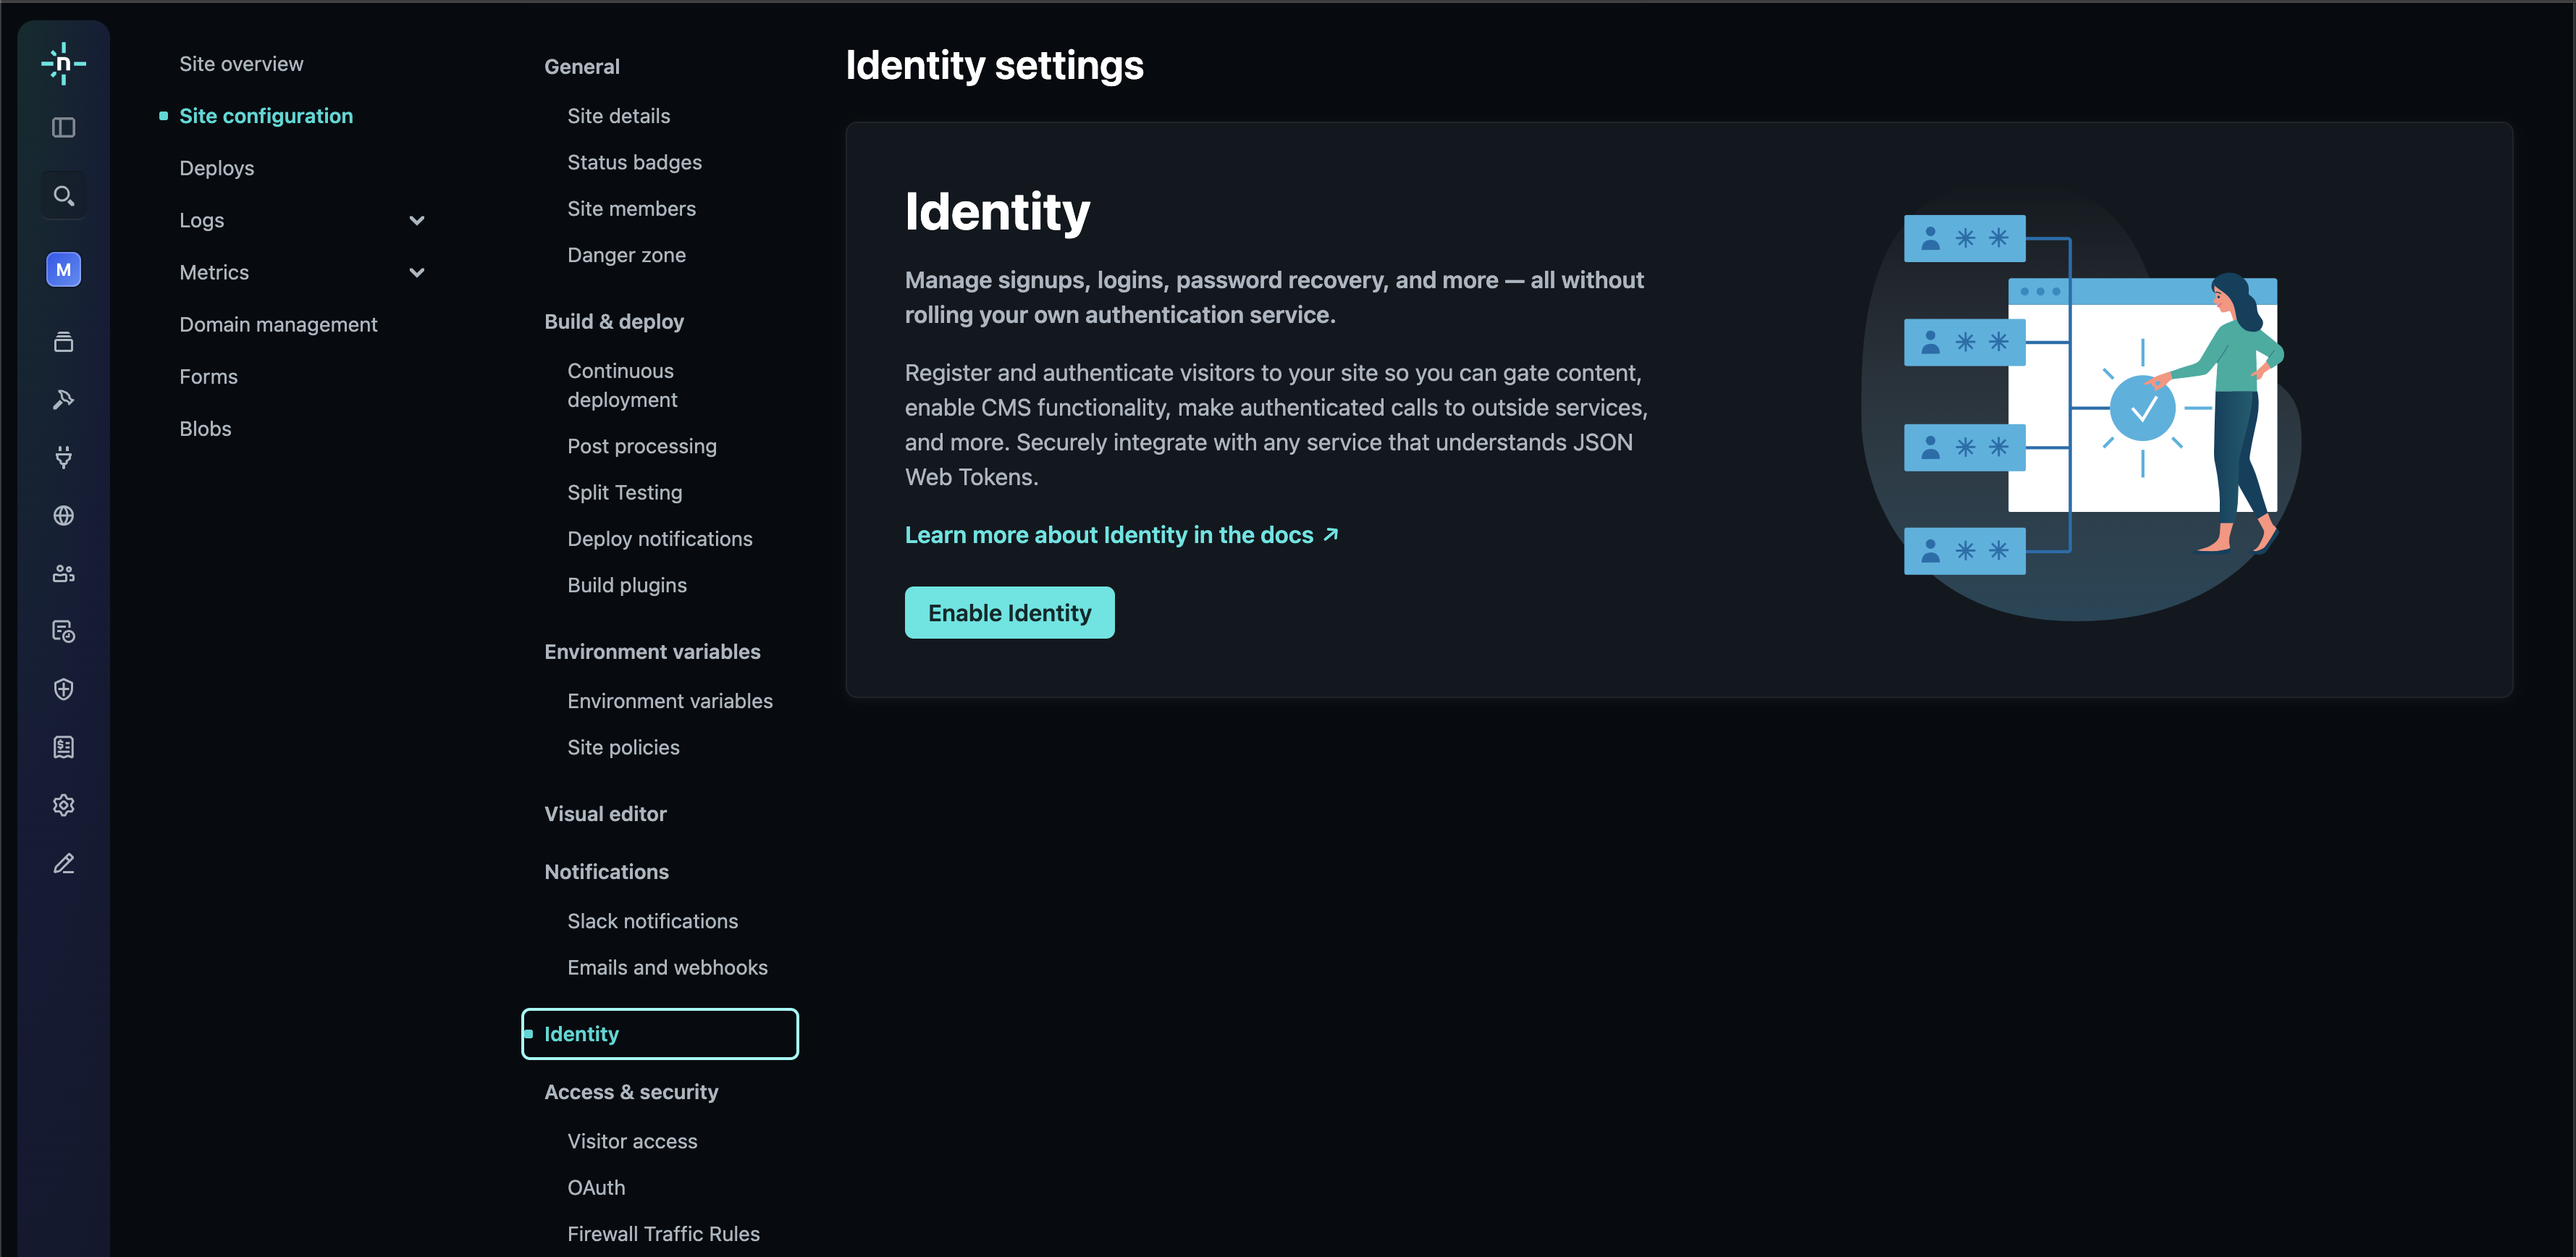
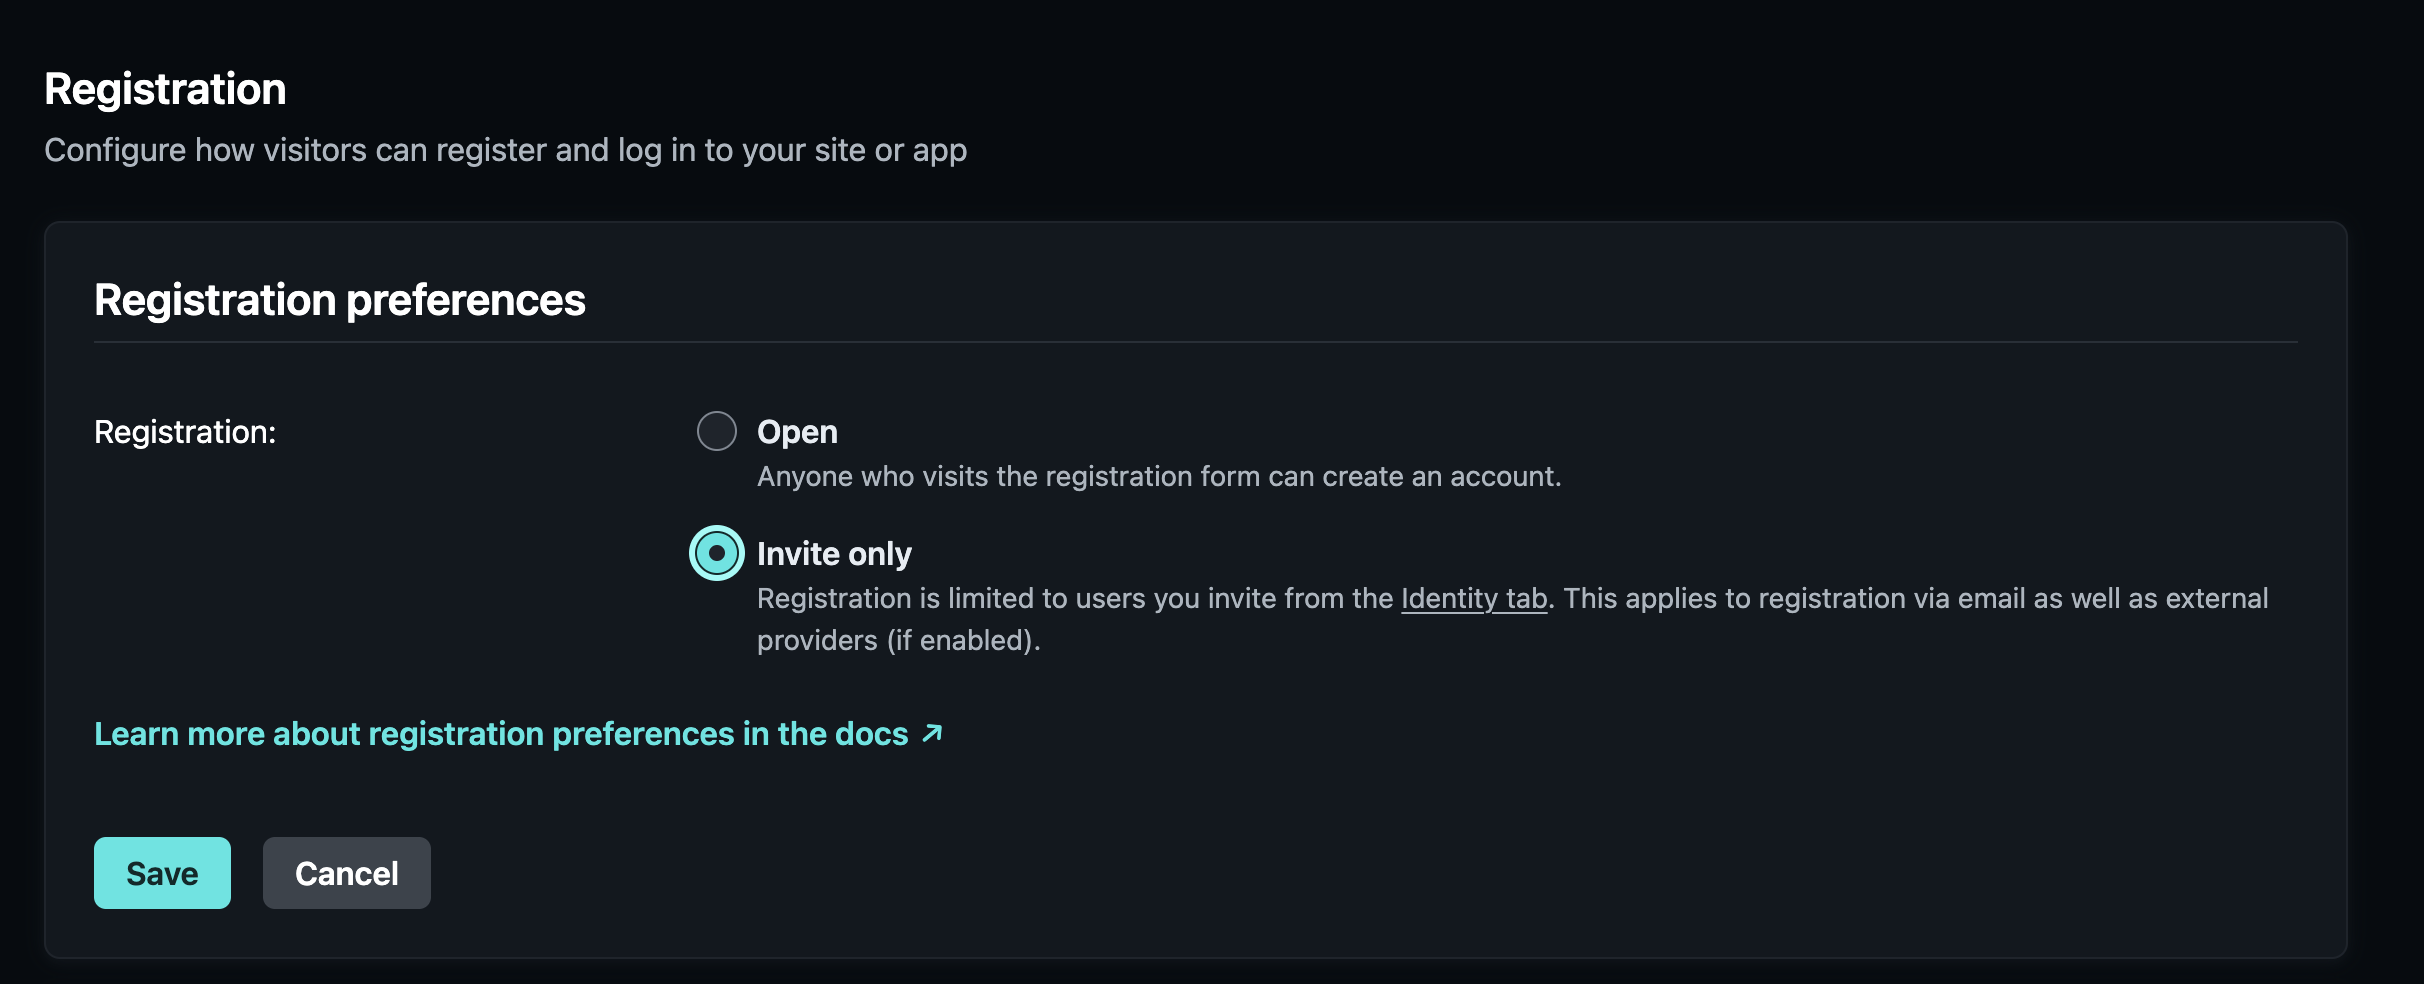
Click Enable Identity. Next, go to Registration to configure how users can register. Since we're making a personal blog in this example, we will select Invite only. If you have other use cases you can explore the other option but selecting this option will make it so we have fine control of who can use our Decap CMS admin section.
Next, go to Users > Invite users. Fill in your own email address and click Send. You will receive an email from Netlify to invite you to your own blog.
We're going to use GitHub as an external OAuth provider so we can use our GitHub credentials to login to our Decap CMS admin section. So let's now go to External Providers under the Registration section. Click Add provider and select GitHub. You can keep the configuration as default for now. Feel free to explore the other options on your own.

Next, we'll enable Git Gateway in the Services section. This will allow Decap CMS to integrate with GitHub to store blog posts and media uploads directly in your GitHub repository.
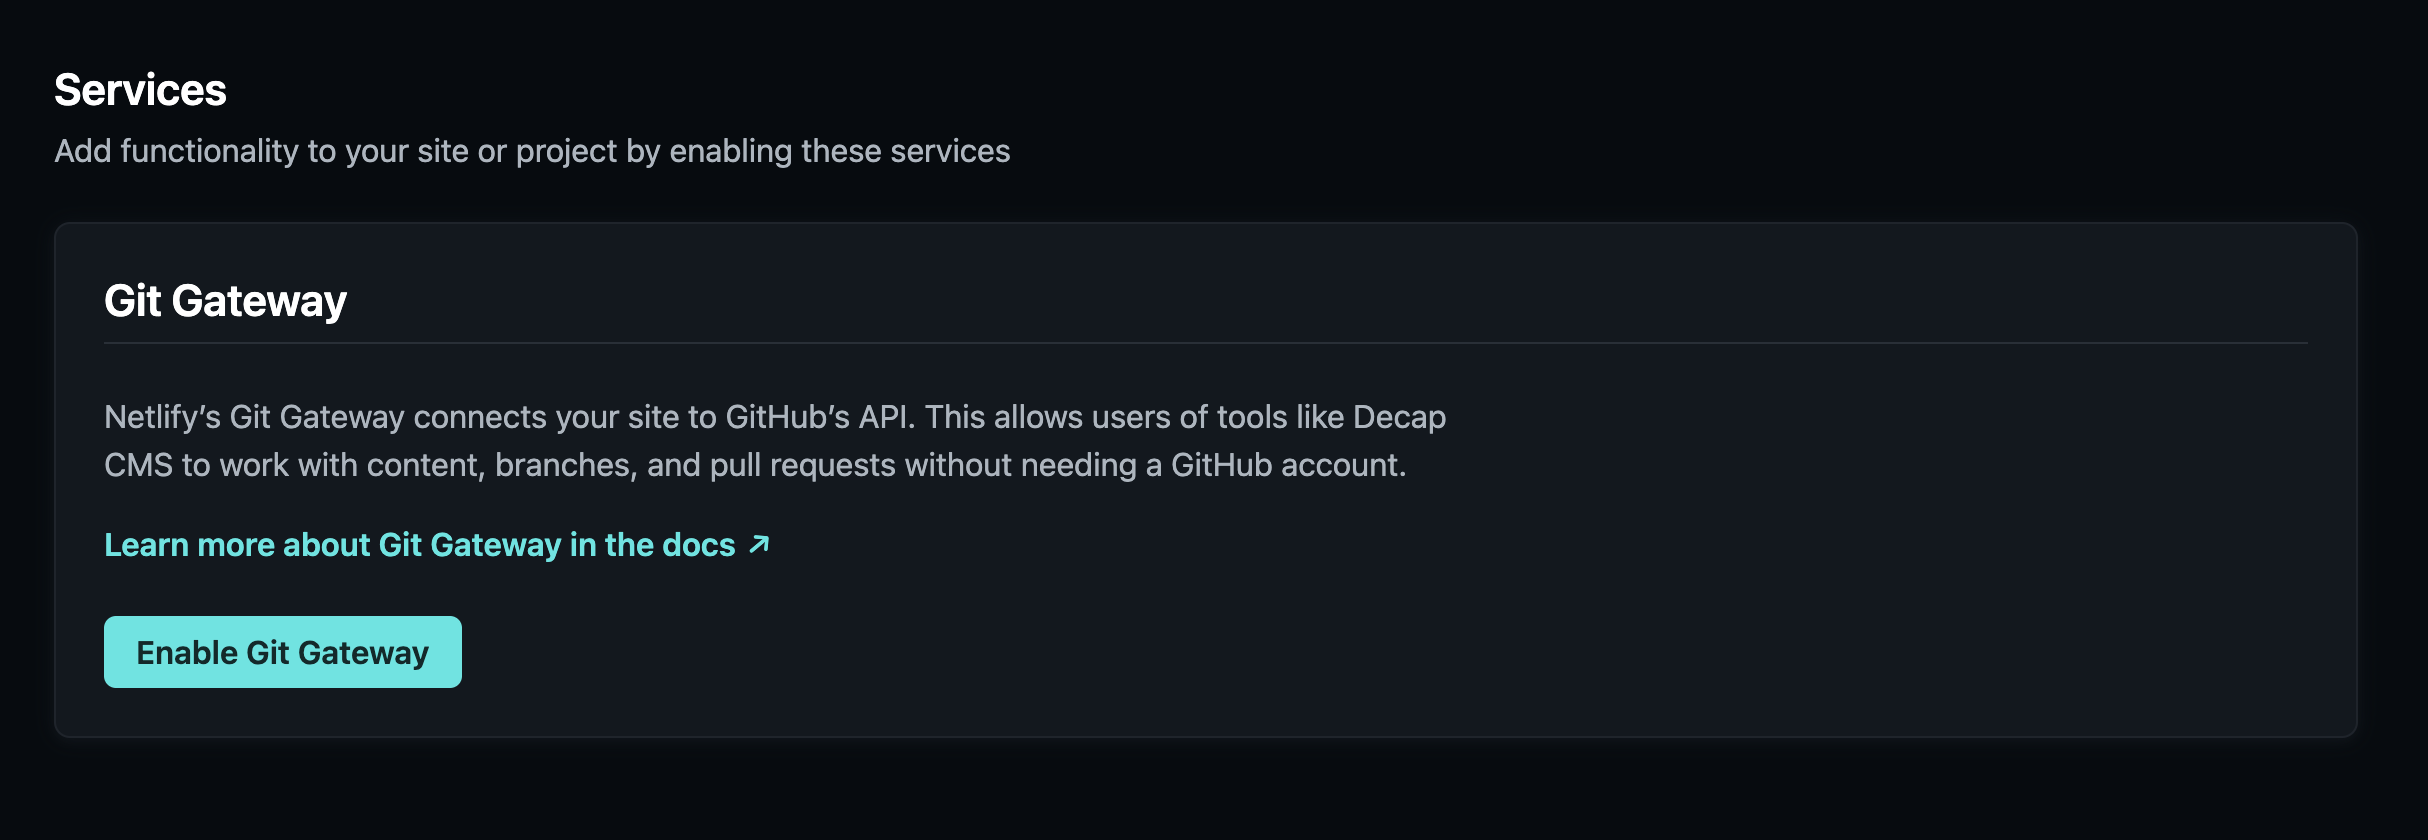
Finally, we need to add the Identity Widget to our Decap CMS index.html file. Copy the code provided in the documentation to the head section or your index.html file in the /admin folder.
<script src="https://identity.netlify.com/v1/netlify-identity-widget.js"></script>Configuring Decap CMS
We've come a long way already! Now let's move on to the final piece of the puzzle, configuring Decap CMS. Let's take a look at the config.yml file we created earlier. If you haven't done so already you can now follow the instructions in the Decap CMS documentation to populate the config.yml file. You will end up with a file looking like this:
backend:
  name: git-gateway
  branch: main # Branch to update (optional; defaults to master)
media_folder: "static/images/uploads" # Media files will be stored in the repo under static/images/uploads
public_folder: "/images/uploads" # The src attribute for uploaded media will begin with /images/uploads
collections:
  - name: "blog" # Used in routes, e.g., /admin/collections/blog
    label: "Blog" # Used in the UI
    folder: "_posts/blog" # The path to the folder where the documents are stored
    create: true # Allow users to create new documents in this collection
    slug: "{{year}}-{{month}}-{{day}}-{{slug}}" # Filename template, e.g., YYYY-MM-DD-title.md
    fields: # The fields for each document, usually in front matter
      - { label: "Layout", name: "layout", widget: "hidden", default: "blog" }
      - { label: "Title", name: "title", widget: "string" }
      - { label: "Publish Date", name: "date", widget: "datetime" }
      - { label: "Featured Image", name: "thumbnail", widget: "image" }
      - { label: "Rating (scale of 1-5)", name: "rating", widget: "number" }
      - { label: "Body", name: "body", widget: "markdown" }
Let's go over some observations to make this work with our Next.js Blog Starter template.
First, take a look at your project's file structure. Notice the /public folder that was created by the Next.js Starter Blog template. This one already contains an assets folder where some example images are stored. Let's reuse this folder for Decap CMS by updating the media_folder and public_folder values in the yaml file to "public/assets" and "assets" respectively.
Next thing we need to update is the collections field. As described in the Decap CMS documentation, collections define the content structure of different types of content on your website. In our case it is where we'll define what a blog post should look like.
Let's look at the folder key first. Notice how it points to "_posts/blog" by default. Now let's see what the Next.js Blog Starter provided us with. You will see it created 3 example blog posts under the /_posts folder. Let's update the config.yml file to reflect that. Update the value for folder to "_posts".
Now let's take a closer look at the example blog posts created by the template. Notice the FrontMatter code on top of the hello-world.md file for instance.
---
title: "Learn How to Pre-render Pages Using Static Generation with Next.js"
excerpt: "Lorem ipsum dolor sit amet, consectetur adipiscing elit, sed do eiusmod tempor incididunt ut labore et dolore magna aliqua. Praesent elementum facilisis leo vel fringilla est ullamcorper eget. At imperdiet dui accumsan sit amet nulla facilities morbi tempus."
coverImage: "/assets/blog/hello-world/cover.jpg"
date: "2020-03-16T05:35:07.322Z"
author:
  name: Tim Neutkens
  picture: "/assets/blog/authors/tim.jpeg"
ogImage:
  url: "/assets/blog/hello-world/cover.jpg"
---
The fields you will end up with here when you create a new post map to what you have defined in the collections.fields in your config.yml. So to understand this better, let's work with what the Blog Starter has provided us with. Let's update our config.yml file to reflect the fields as shown in the hello-world.md file.
backend:
  name: git-gateway
  branch: main # Branch to update (optional; defaults to master)
media_folder: public/assets
public_folder: /assets
collections:
  - name: "blog" # Used in routes, e.g., /admin/collections/blog
    label: "Blog" # Used in the UI
    folder: "_posts" # The path to the folder where the documents are stored
    create: true # Allow users to create new documents in this collection
    slug: "{{year}}-{{month}}-{{day}}-{{slug}}" # Filename template, e.g., YYYY-MM-DD-title.md
    fields: # The fields for each document, usually in front matter
      - { label: "Title", name: "title", widget: "string" }
      - { label: "Excerpt", name: "excerpt", widget: "string" }
      - { label: "Cover Image", name: "coverImage", widget: "image" }
      - { label: "Date", name: "date", widget: "datetime", default: "{{now}}" }
      - label: "Author"
        name: "author"
        widget: "object"
        fields:
          - { label: "Name", name: "name", widget: "string" }
          - { label: "Picture", name: "picture", widget: "image" }
      - label: "OG Image"
        name: "ogImage"
        widget: "object"
        fields:
          - { label: "URL", name: "url", widget: "image" }
      - { label: "Body", name: "body", widget: "markdown" }
Notice how all the fields in the collections now map to the fields shown on top of the markdown files. You will see this in action soon once we connect to our admin interface.
Let's deploy our blog!
Now we have everything set up. Let's push our changes on the main branch to our GitHub repo. This will trigger the automatic build process on Netlify to update our website.
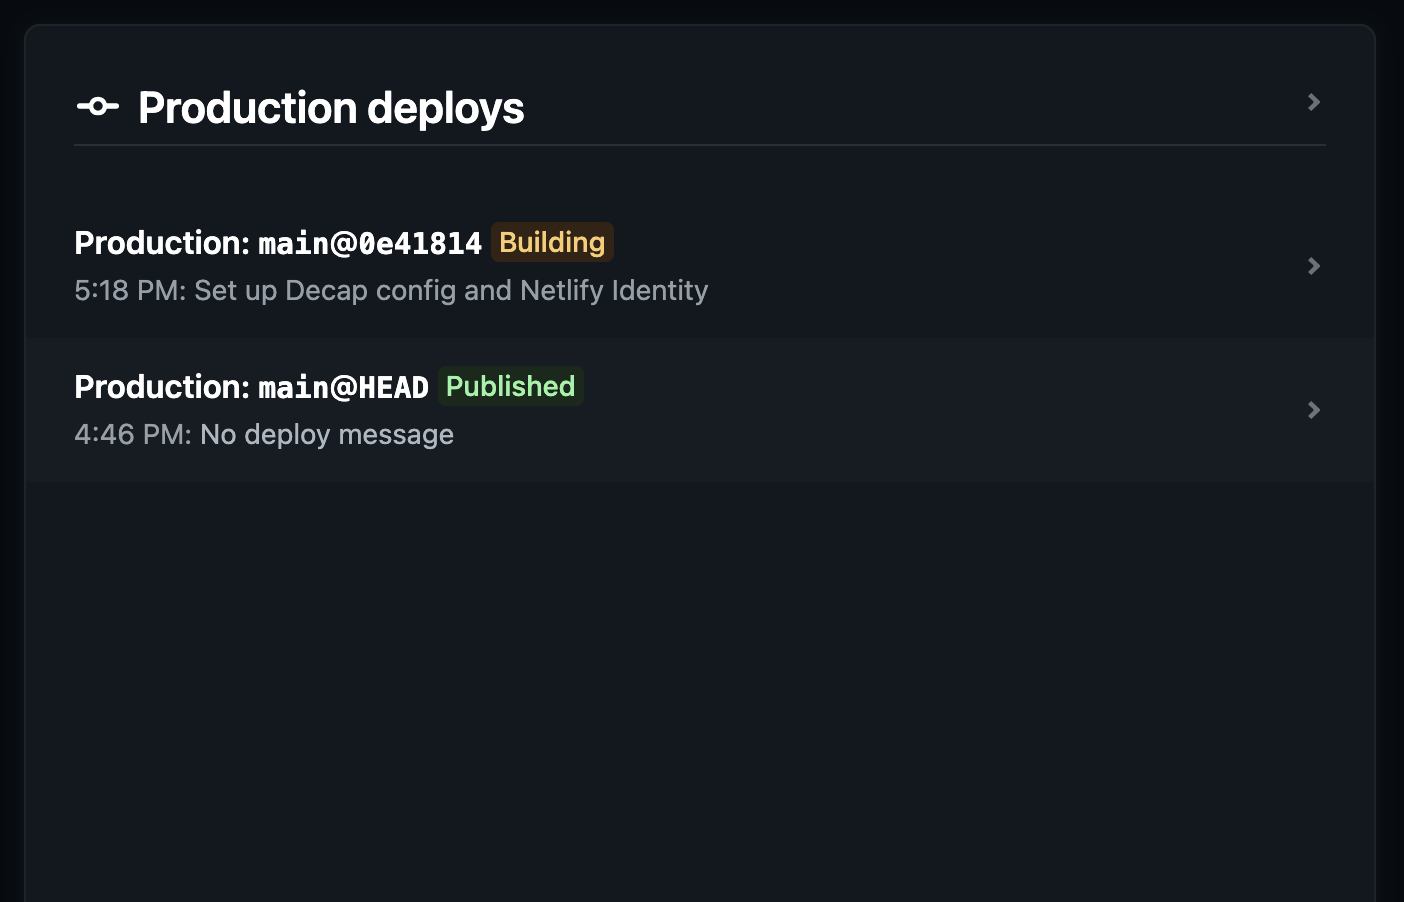
Once the build is published you can visit your website to see the updates in action. Navigate to your website url adding /admin at the end to see the admin login screen.
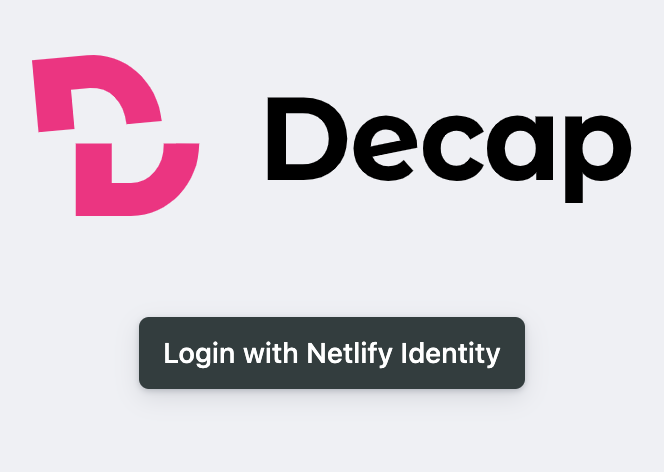
You will be prompted to login. In the subsequent screen you can select Continue with GitHub in order to login with your GitHub credentials.
Notice how your example blog posts from the Next.js Starter Blog are now available for you in your admin section.
Go ahead and open one of the posts to see how the fields you configured earlier in the config.yml now map to all the input fields in the admin section and how that ties in with the FrontMatter code in the markdown files.
Congratulations!!! 🎉
You now have successfully set up your blog using the Next.js Blog Starter template with Decap CMS and Netlify.
In the next post I will guide you through setting up a custom domain and HTTPS directly through Netlify and optionally setting up the Lighthouse plugin the check our site's scores!